
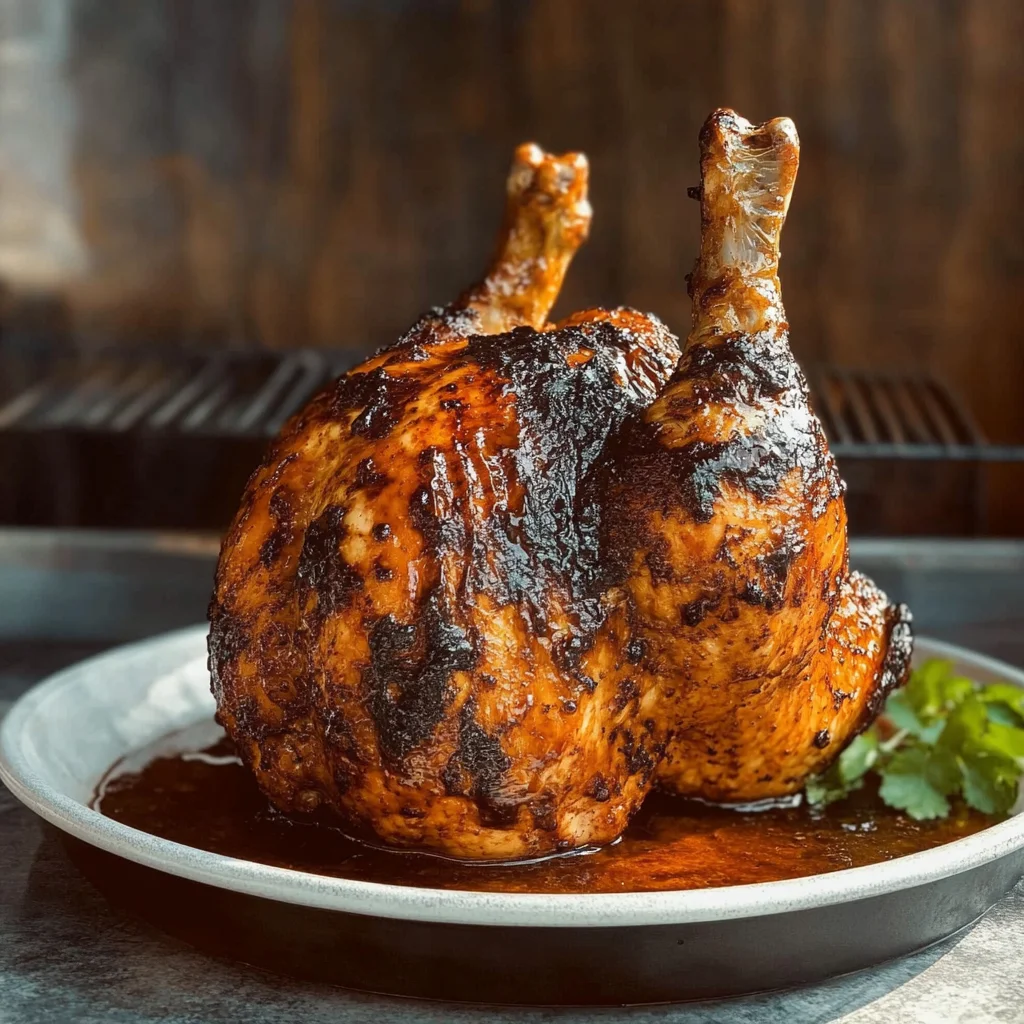
Imagine the sizzle of juicy chicken on the grill, infused with the rich aroma of beer can chicken on the grill wafting through the air. The perfect blend of smoky flavors and tender meat creates a culinary masterpiece that’s as fun to make as it is to eat, drawing friends and family around for a feast filled with laughter and good vibes.
As I recall my first attempt at this crowd-pleaser, I can still taste that crispy skin and succulent meat, a true delight on warm summer evenings. Picture backyard barbecues or game day celebrations where everyone gathers to savor this delightful dish, creating unforgettable moments one juicy bite at a time.
Why Is beer can chicken on the grill So Irresistibly Good?
Juicy Flavor: The beer infuses the chicken with incredible moisture, ensuring every bite is bursting with flavor.
Easy Preparation: With just 15 minutes of prep, you can enjoy a delicious meal without spending hours in the kitchen.
Crowd-Pleasing: Perfect for gatherings, this dish impresses guests with its unique presentation and mouthwatering taste.
Versatile Seasoning: Customize the spice blend to suit your palate—add more cayenne for heat or keep it simple for family-friendly fare.
Time-Saving Cooking: In just 90 minutes, you’ll have a succulent chicken ready to serve, making it ideal for busy weeknights or weekend BBQs.
beer can chicken on the grill Ingredients
- For the Chicken
- 1 whole whole chicken (about 4-5 pounds) – Choose a fresh, high-quality chicken for the juiciest and most flavorful results when grilling.
- For the Beer
- 1 can lager or ale (preferably a light beer) – The beer infuses moisture and flavor into the chicken, creating an irresistible taste experience.
- For the Seasoning
- 2 tablespoons olive oil – This helps the spices adhere to the chicken while adding richness and flavor.
- 1 tablespoon paprika – Adds a beautiful color and a mild, smoky flavor to your grilled chicken.
- 1 tablespoon garlic powder – Provides a delightful garlicky aroma that enhances the overall taste.
- 1 tablespoon onion powder – Brings a subtle sweetness and depth of flavor that complements the spices well.
- 1 teaspoon salt – Essential for enhancing all the other flavors in your seasoning blend.
- 1 teaspoon black pepper – Adds a gentle kick that balances perfectly with the other seasonings.
- 1 teaspoon cayenne pepper (optional for heat) – Use this if you like your beer can chicken on the grill with an extra spicy twist!
How to Make beer can chicken on the grill
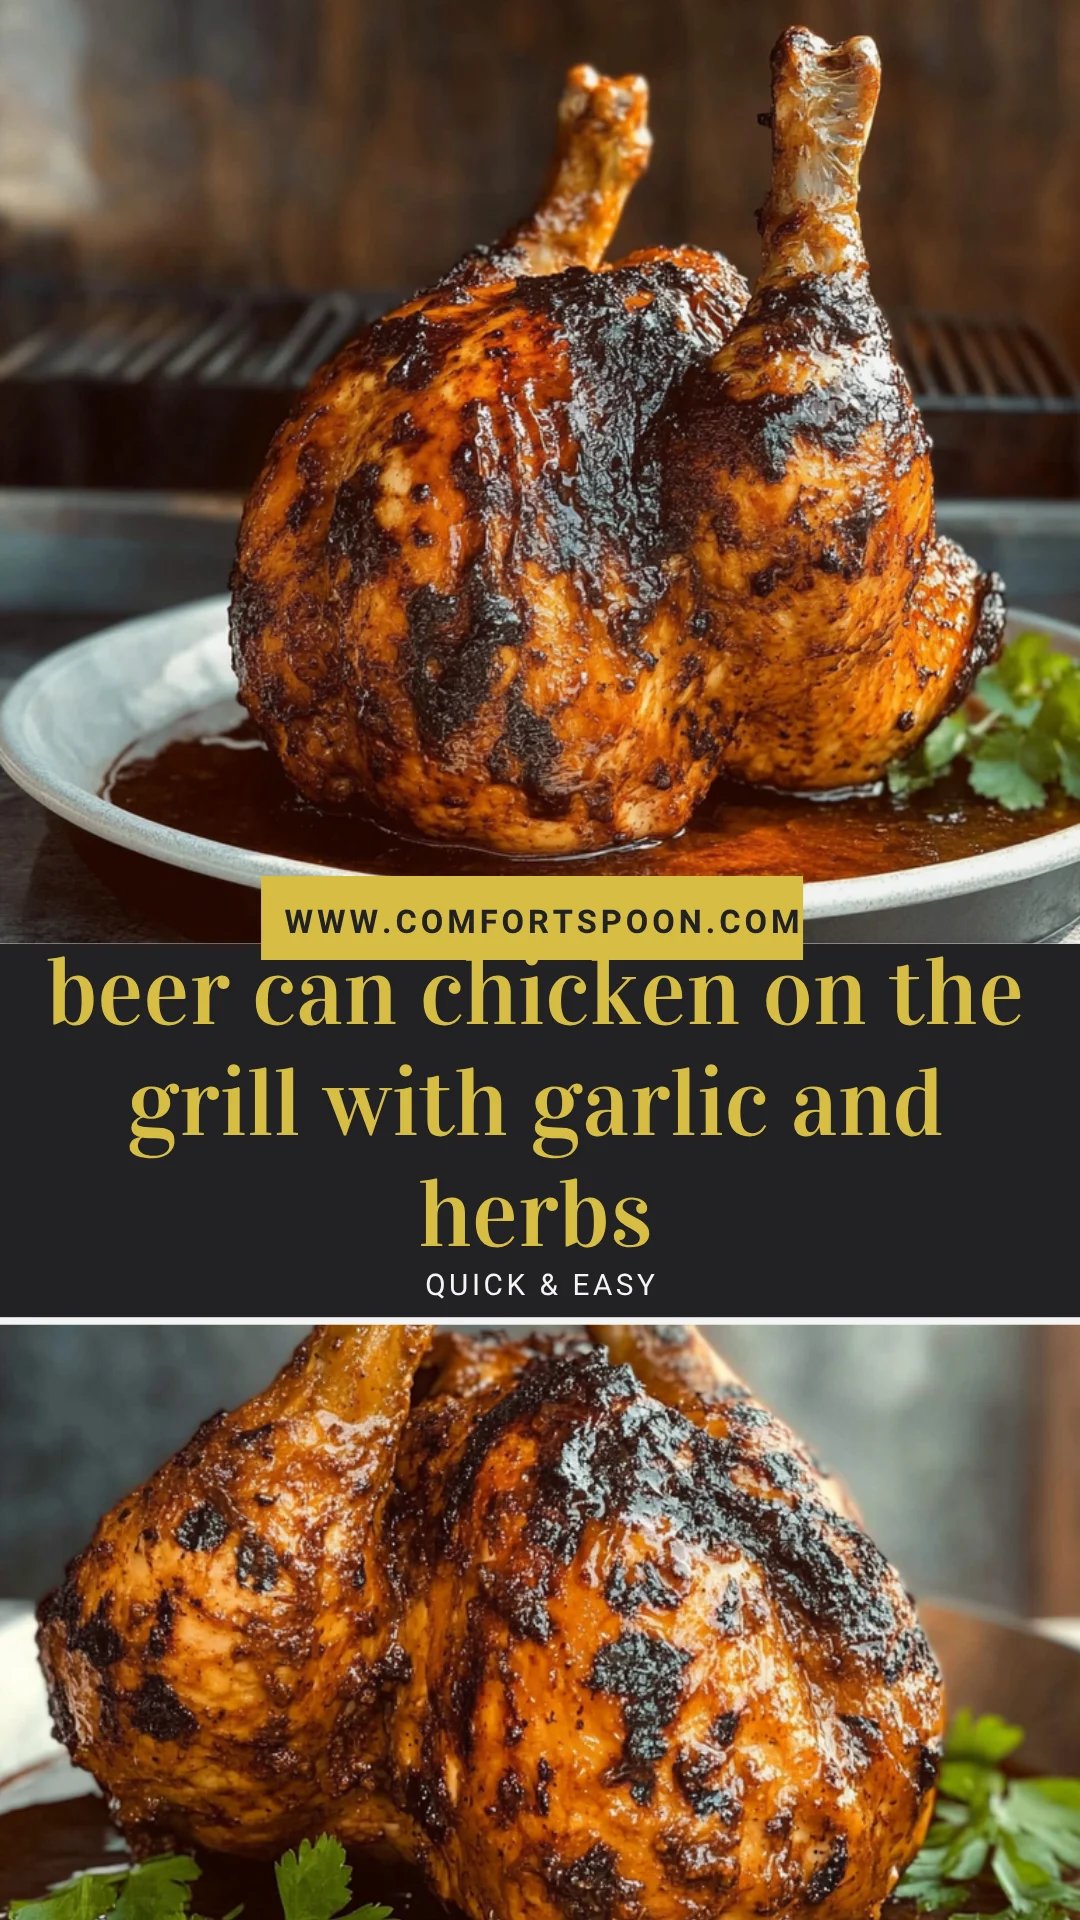
1. Preheat the grill to medium-high heat, aiming for about 375°F to 400°F. This creates the perfect cooking environment for your chicken, ensuring it gets that juicy flavor and crispy skin.
2. Rinse the whole chicken under cold water and pat dry with paper towels. A dry surface allows the seasoning to adhere better, giving you a flavorful crust.
3. Rub 2 tablespoons of olive oil all over the chicken, then season generously with 1 tablespoon each of paprika, garlic powder, onion powder, along with 1 teaspoon each of salt, black pepper, and cayenne pepper (if desired). This spice mix will elevate your beer can chicken on the grill!
4. Open the beer can and drink or pour out half of it. The remaining beer will infuse moisture into the chicken as it cooks—don’t skip this step!
5. Insert the beer can into the cavity of the seasoned chicken, ensuring it stands upright. This unique method not only supports your bird but also keeps it moist from within!
6. Place the chicken on the grill using the beer can as support. Position it carefully so that it’s stable—this is key for even cooking throughout.
7. Close the grill lid and cook for about 1.5 hours, or until the internal temperature reaches 165°F in the thickest part of the chicken. You’ll know it’s ready when you see that beautiful golden-brown color!
8. Rotate the chicken occasionally for even cooking; this helps achieve that lovely crispiness on all sides while maintaining juiciness inside.
9. Remove the chicken carefully from the grill once done, letting it rest for about 10 minutes before serving. This resting time lets those delicious juices redistribute throughout—trust me, it’s worth it!
Optional: Add fresh herbs like parsley or cilantro before serving for a vibrant touch!
Exact quantities are listed in the recipe card below.
Tips for the Best beer can chicken on the grill
- Choose the Right Beer: Use a light lager or ale to enhance flavor without overpowering the chicken. Avoid heavy stouts that may alter the taste.
- Pat Dry Thoroughly: Ensuring your chicken is dry before seasoning helps achieve crispy skin. Too much moisture can lead to steaming instead of grilling.
- Generous Seasoning: Don’t skimp on the spice mix! Coat every inch of the chicken to lock in flavor while it grills, preventing bland bites.
- Monitor Temperature: Invest in a meat thermometer for accurate cooking. This prevents undercooked chicken and ensures juicy perfection every time.
- Let It Rest: Always rest your chicken for at least 10 minutes after grilling. This redistributes juices, keeping it moist and flavorful when you carve it.
- Avoid Flipping Too Much: While occasional rotation is good, avoid constant flipping. It can disrupt even cooking and lead to drying out parts of your beer can chicken on the grill.
How to Store and Freeze beer can chicken on the grill
- Fridge: Store leftover beer can chicken in an airtight container for up to 3 days. This keeps the chicken juicy and flavorful for your next meal.
- Freezer: If you have more than you can eat, wrap the chicken tightly in foil or freezer-safe bags. It can be frozen for up to 3 months without losing its delicious taste.
- Reheating: To reheat, place the chicken in a preheated oven at 350°F (175°C) for about 20-25 minutes until warmed through. This method retains moisture beautifully.
- Serving Suggestions: Pair your reheated beer can chicken with fresh sides or salads, enhancing your meal while minimizing waste. Enjoy those flavors all over again!
beer can chicken on the grill Variations
Feel free to let your creativity shine by customizing this delicious recipe to suit your taste!
- Herb-Infused: Swap in fresh herbs like rosemary or thyme for a fragrant twist. Simply place a handful inside the cavity along with the beer. This addition elevates the flavor profile, making it even more aromatic and inviting.
- Citrus Zing: Use lemon-lime soda or add citrus slices into the beer can for a refreshing tang. The zesty notes will brighten each juicy bite, adding a burst of summer sunshine to your meal.
- Spicy Kick: Substitute the cayenne pepper with your favorite hot sauce mixed into the olive oil rub. This fiery twist will awaken your taste buds and give your chicken an exciting kick that’s hard to resist.
- Smoky Flavor: Replace half of the paprika with smoked paprika for an irresistible depth of flavor. The smoky notes create a mouthwatering aroma while grilling and pair beautifully with any sides you choose.
- Beer Variety: Experiment with different types of beer, such as stout for richness or wheat beer for a light finish. Each option brings a unique character to your chicken, allowing you to explore endless flavors.
- Sweet Touch: Add brown sugar or honey into the seasoning mix for a hint of sweetness that balances out savory flavors. This delightful contrast can create that perfect caramelized crust everyone loves.
- Garlic Lovers: Increase garlic powder or add roasted garlic cloves inside the chicken for an extra punch of flavor. The roasted garlic brings out sweetness and creates a luxurious texture in every bite.
- Veggie Stuffed: Fill the cavity with onion, garlic, or even apples for added moisture and flavor infusion during grilling. These additions not only enhance taste but also make for a colorful presentation when serving!
Make Ahead Options

Preparing beer can chicken on the grill is a fantastic choice for meal prep, allowing you to savor that succulent flavor without the last-minute rush. To get a head start, you can season the chicken up to 24 hours in advance. Simply rinse the chicken, pat it dry, and rub it with olive oil and your spice mix—paprika, garlic powder, onion powder, salt, black pepper, and cayenne if desired. Store it in the refrigerator until you’re ready to grill. When you’re set to cook, just open your lager or ale, pour out half, insert it into the chicken’s cavity, and place it on the preheated grill at 375°F to 400°F. This method not only saves time but also enhances the flavors as they meld together overnight. Enjoy perfectly grilled beer can chicken on the grill that’s juicy and bursting with flavor!
beer can chicken on the grill Recipe FAQs
What type of beer should I use for beer can chicken?
For the best flavor, choose a light lager or ale. The lighter beers won’t overpower the chicken and will provide a subtle flavor enhancement. However, feel free to experiment with your favorite brews to add a personal touch!
Can I use a different seasoning mix for the chicken?
Absolutely! While this recipe offers a delightful spice blend with paprika, garlic powder, and cayenne pepper, you can customize it to suit your taste. Try adding herbs like thyme or rosemary, or even a barbecue rub for a smoky twist.
How should I store leftovers from beer can chicken?
Once your deliciously grilled chicken has cooled down, store any leftovers in an airtight container in the refrigerator. They should stay fresh for about 3-4 days. Just make sure to keep the meat covered to maintain its moisture!
Can I freeze beer can chicken leftovers?
Yes! If you want to save some for later, shredded or whole leftover chicken can be frozen. Wrap it tightly in foil or use freezer bags, and it will last for about 2-3 months. Just remember to thaw it in the fridge overnight before reheating.
What if my chicken isn’t cooking evenly on the grill?
If you find that your chicken is browning too quickly on one side, try rotating it every 30 minutes during grilling. This ensures even cooking and helps prevent charring. Also, check that your grill maintains a consistent medium-high heat around 375°F to 400°F.
How many servings does this recipe yield?
This flavorful recipe serves about 4 people, making it perfect for family dinners or small gatherings. Each serving packs around 400 calories of juicy goodness that everyone will love!
Beer Can Chicken on the Grill
Ingredients
Method
- Preheat the grill to medium-high heat (about 375°F to 400°F).
- Rinse the chicken under cold water and pat dry with paper towels.
- Rub the olive oil all over the chicken, then season generously with the spice mix.
- Open the beer can and drink or pour out half of the beer.
- Insert the beer can into the cavity of the chicken, ensuring it stands upright.
- Place the chicken on the grill, using the beer can to support it.
- Close the grill lid and cook for about 1.5 hours, or until the internal temperature reaches 165°F.
- Rotate the chicken occasionally for even cooking.
- Once done, carefully remove the chicken from the grill and let it rest for 10 minutes before serving.