
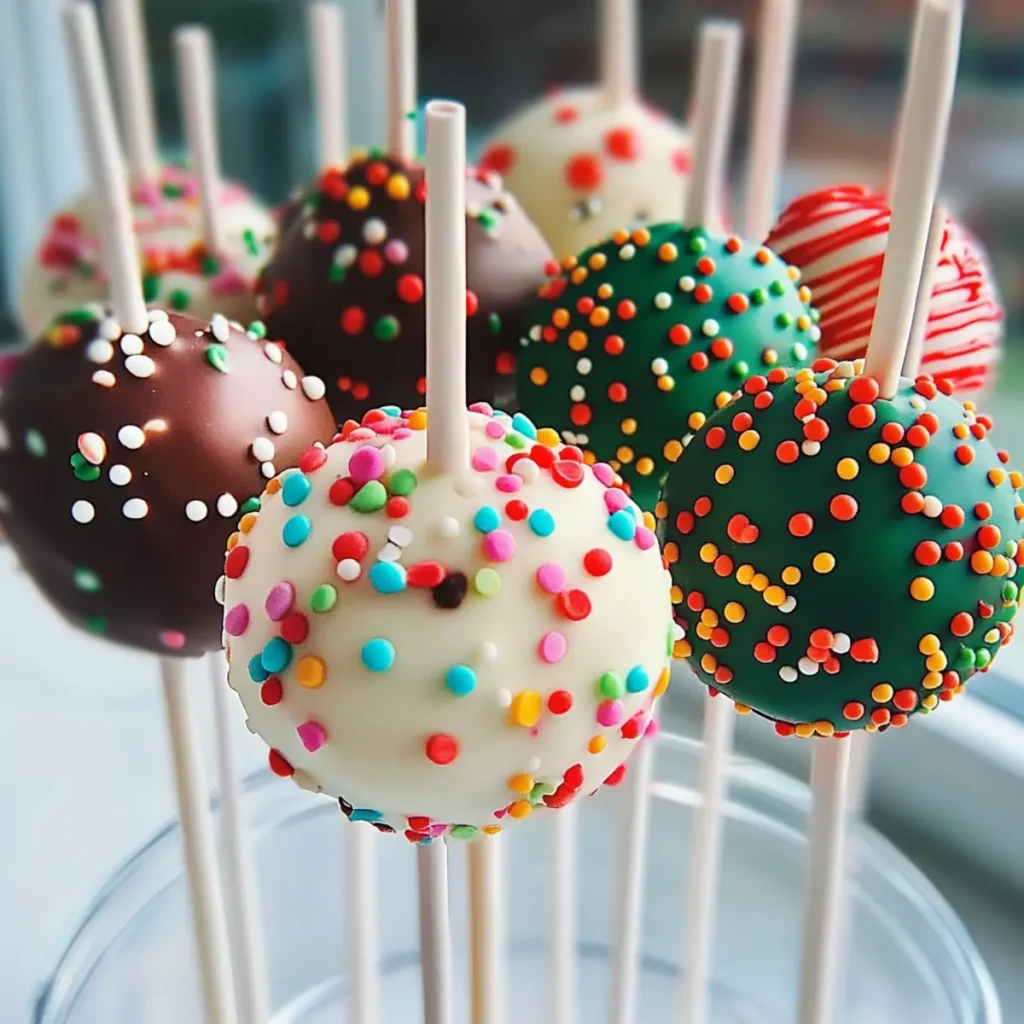
The delightful aroma of freshly baked cake pops fills the air, making these Holiday Cake Pops the ultimate festive treat! Imagine glistening chocolatey spheres, sprinkled with vibrant colors, ready to make any celebration a little sweeter and a lot more fun. These little wonders perfectly encapsulate the joy and warmth of the holiday season and will turn any gathering into a joyous occasion.
Every bite is a harmonious blend of rich chocolate or vanilla cake with a luscious melted coating and a pop of color from sprinkles, bringing a smile to all ages. These cake pops are not just desserts; they’re a reason to celebrate togetherness and cheer, whether it’s a holiday party, a family get-together, or simply a cozy night in. And let’s be honest, who can resist a treat that looks this cute? Get ready to delight your taste buds!
Why You'll Love This Holiday Cake Pops
- These incredible Holiday Cake Pops transform simple everyday ingredients into restaurant-quality flavors that will blow your mind completely.
- Foolproof recipe techniques guarantee perfect results every single time, making even novice cooks feel like professional chefs instantly.
- Stunning visual appeal with gorgeous colors and mouthwatering aromas creates the ultimate Instagram-worthy dish for any special occasion.
- Endlessly adaptable for different dietary needs while working beautifully for meal prep, date nights, or entertaining large groups effortlessly.
Ingredients for Holiday Cake Pops
Here’s what you’ll need to make this delicious Holiday Cake Pops:
1 box (15.25 oz) chocolate or vanilla cake mix – Opt for a high-quality mix for the best flavor and texture. You can also try gluten-free cake mix if you’d like.
3 large eggs – These help bind the cake mix together, creating a moist and fluffy texture in your cake pops.
1 stick (1/2 cup) unsalted butter, melted – Always use unsalted butter for better control over the sweetness.
1 cup high-quality chocolate melts – Choose a good brand for superior taste and smooth melting results.
1/2 cup colorful sprinkles – Use a variety of sprinkles to add that extra festive touch — think reds, greens, and metallics!
How to Make Holiday Cake Pops
Follow these simple steps to prepare this delicious Holiday Cake Pops:
Step 1: Preheat and Prepare
Preheat your oven to 350°F (175°C). Grease a baking pan with a little nonstick spray and set aside to prevent any sticky situations later.
Step 2: Mix It Up
In a large bowl, combine the cake mix, eggs, and melted butter. Beat until the mixture is smooth and well combined. Feel free to channel your inner pastry chef while you mix!
Step 3: Bake the Cake
Pour the batter into your prepared baking pan and bake for 25-30 minutes, or until a toothpick inserted into the center comes out clean. Once done, allow the cake to cool completely before moving to the next step. Try to resist the temptation to eat the warm cake — I know, it’s hard!
Step 4: Crumble and Mix
Once the cake is cool, crumble it into fine pieces in a large bowl. Gradually mix in your favorite frosting until the mixture is dough-like and can be easily rolled into balls. Don’t be afraid to use your hands — it’s often the best tool for the job.
Step 5: Chill Out
Roll the cake mixture into 1-inch balls and place them on a lined baking sheet. Chill in the refrigerator for at least one hour. This chilling step is crucial — it helps the pops hold their shape when you dip them in chocolate.
Step 6: Dip and Decorate
Melt your chocolate melts according to package instructions until smooth. Take each chilled ball and dip it halfway into the chocolate, coating it evenly. Place the dipped cake pops back on the lined baking sheet and sprinkle colorful sprinkles on top while the chocolate is still wet. The sprinkles are the holiday cheer that makes every bite festive!
Transfer your beautiful Holiday Cake Pops to a plate and let them set completely before serving. You can also package them up as little gifts or party favors. Just imagine the joy on your friends’ faces when they bite into these delightful treats!
With the holidays approaching, these cake pops will surely be the life of any gathering, evoking heartwarming memories and delicious flavors. So go ahead, grab your ingredients, and let the magic of baking fill your home. Enjoy every moment, from mixing to munching, as you create this incredible holiday delight. Happy baking!
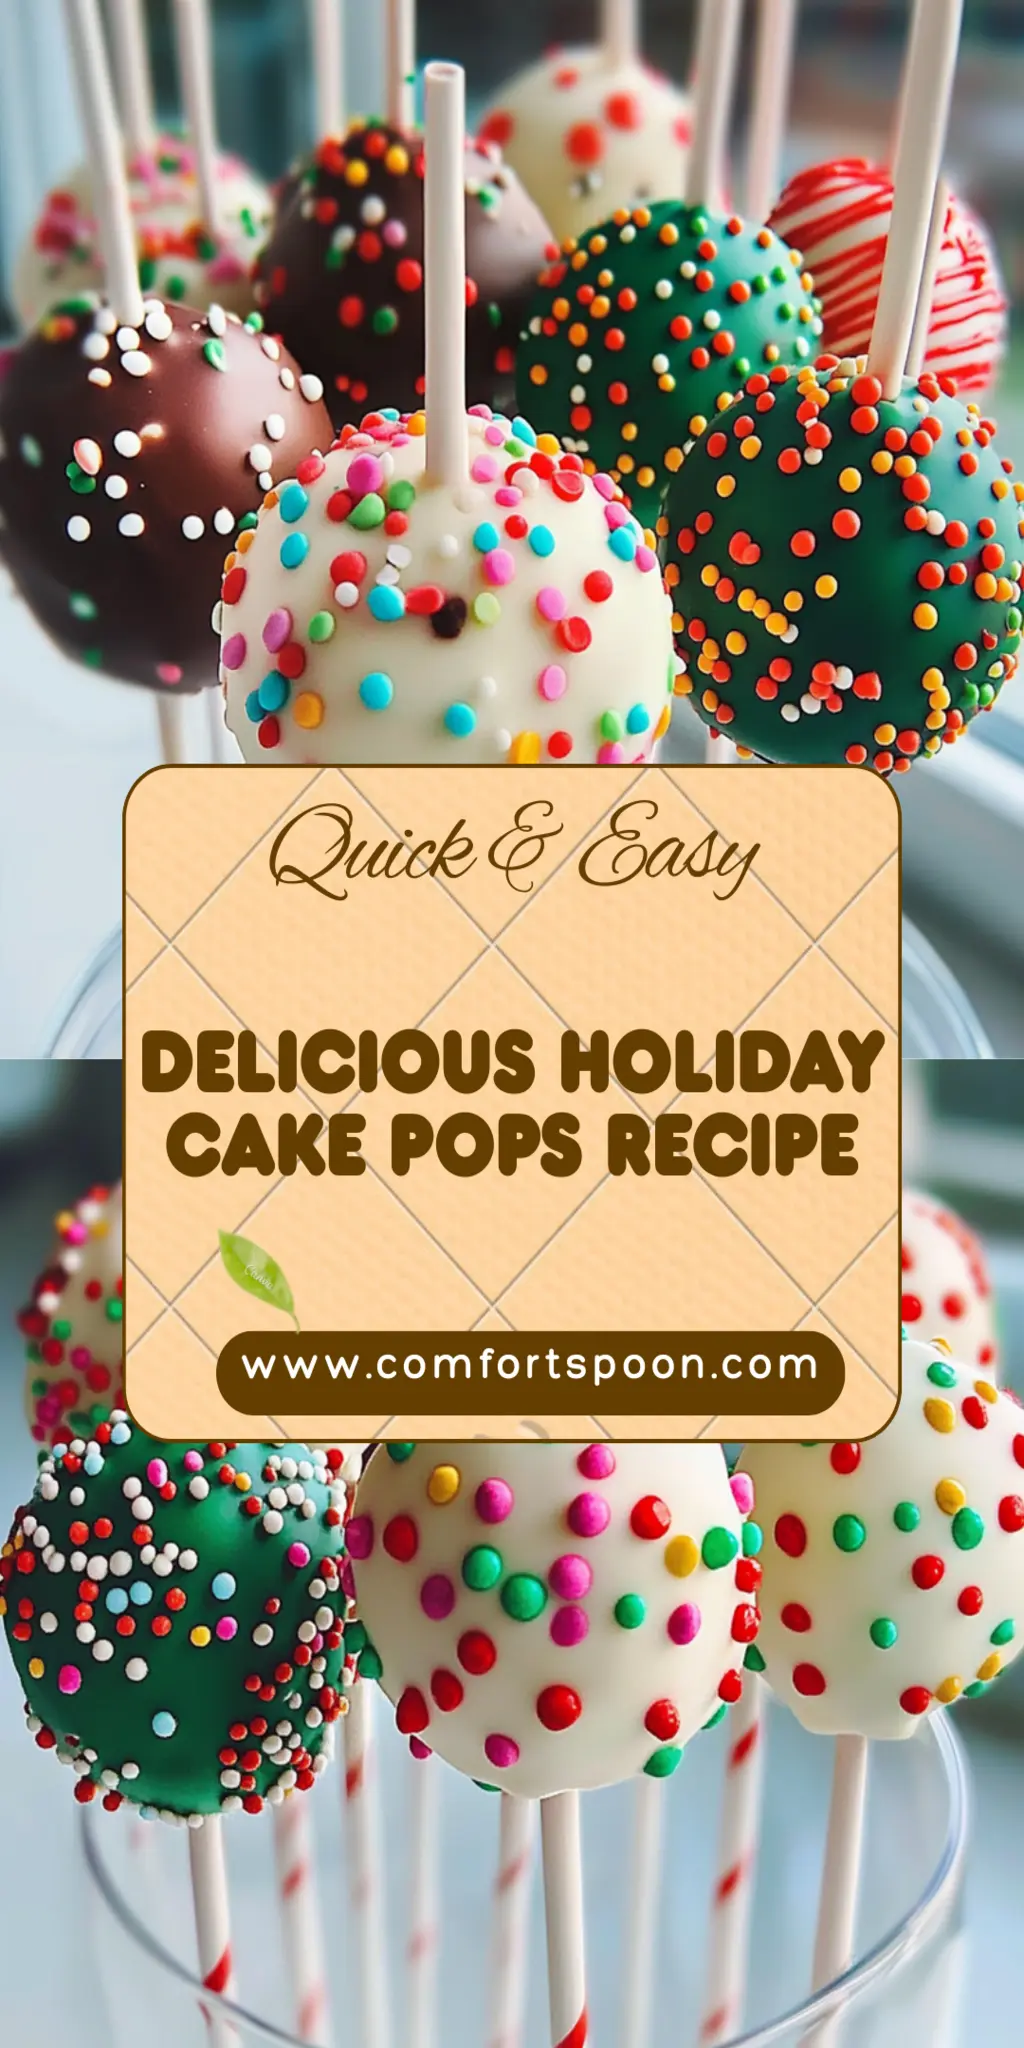
This showstopping Holiday Cake Pops delivers restaurant-quality results using simple ingredients you probably already have at home. The perfect balance of textures and flavors creates an unforgettable dining experience that will have everyone asking for seconds. Picture-perfect presentation with vibrant colors makes this dish absolutely Instagram-worthy and guaranteed to impress any dinner guest. Incredibly versatile recipe that works beautifully for weeknight dinners, meal prep, special occasions, or even outdoor entertaining sessions.
Perfecting Holiday Cake Pops Cooking Process
The key to achieving perfection with Holiday Cake Pops starts with preheating your oven while you prepare your cake batter. This way, once the batter is ready, it can go into the oven immediately for evenly baked, fluffy cakes.
Add Your Touch to Holiday Cake Pops
Feel free to add your personal flair to Holiday Cake Pops! Experiment with different cake flavors like red velvet or lemon. You can also swap the chocolate melts for white chocolate, and don’t forget to try different sprinkle mixes to match any theme.
Storing & Reheating Holiday Cake Pops
To store your Holiday Cake Pops, place them in an airtight container in the fridge for up to one week. For best results, let them warm to room temperature before serving again, so the chocolate coating retains its delightful sheen.
Chef's Helpful Tips for Holiday Cake Pops
- This professional-quality Holiday Cake Pops relies on precise timing and temperature control to achieve restaurant-standard results consistently.
- Master the art of mise en place by prepping all ingredients beforehand, ensuring smooth execution and preventing any last-minute cooking disasters.
- The secret lies in layering flavors throughout the cooking process rather than seasoning only at the end for maximum depth.
- Pro tip: let the finished dish rest for optimal texture and flavor development before serving to hungry guests waiting eagerly.
Making these Holiday Cake Pops stirred up so many memories from childhood holiday gatherings, with my family gushing about the flavors and presentation. It became an instant favorite, and now they’re the main attraction at all my celebrations.
FAQs About Holiday Cake Pops
What are Holiday Cake Pops?
Holiday Cake Pops are delightful, bite-sized treats made from crumbled cake mixed with frosting, shaped into balls, and coated in chocolate. These festive goodies are perfect for celebrations, making them a popular choice during the holiday season. With endless customization options, you can use various cake flavors, frosting types, and colorful sprinkles to enhance their appearance and taste. They are an excellent way to bring joy and creativity to your dessert table, loved by both kids and adults alike.
How do I make my Holiday Cake Pops unique?
To make your Holiday Cake Pops unique, consider experimenting with different cake flavors and frosting combinations. Instead of traditional chocolate or vanilla, try red velvet, lemon, or even pumpkin spice cakes for a seasonal twist. You can also switch up the chocolate melts; try white chocolate or colorful candy melts. For decoration, create themed sprinkles that match the occasion or use edible glitter for an extra sparkle. Personalizing these treats adds a special touch to your festive gatherings.
Can I make Holiday Cake Pops in advance?
Absolutely! Holiday Cake Pops can be made in advance, making them a great option for busy schedules. Form and coat the cake pops, then store them in an airtight container in the refrigerator for up to a week. If you plan to make them even further ahead, you can freeze the undipped cake balls for up to three months. Just remember to let them thaw and reach room temperature before dipping them, ensuring a perfect chocolate finish.
What’s the best way to store Holiday Cake Pops?
To store Holiday Cake Pops effectively, keep them in an airtight container in the refrigerator. This helps them stay fresh and maintain their delightful texture. For those who like to serve them at room temperature, allow the pops to sit out for about 30 minutes before serving to let the chocolate coating soften slightly. If you’re trying to keep them longer, freezing is an option, just seal them well to prevent freezer burn.
Conclusion for Holiday Cake Pops
In conclusion, Holiday Cake Pops are a festive and enjoyable treat that can elevate any celebration. Their versatility allows you to personalize them according to your taste and theme, making them perfect for holiday gatherings. With just a few simple ingredients and creative decoration, you can create these irresistible bites that everyone will love. Whether you are making them for a special occasion or just for fun, Holiday Cake Pops are sure to bring smiles and sweet memories to your table.
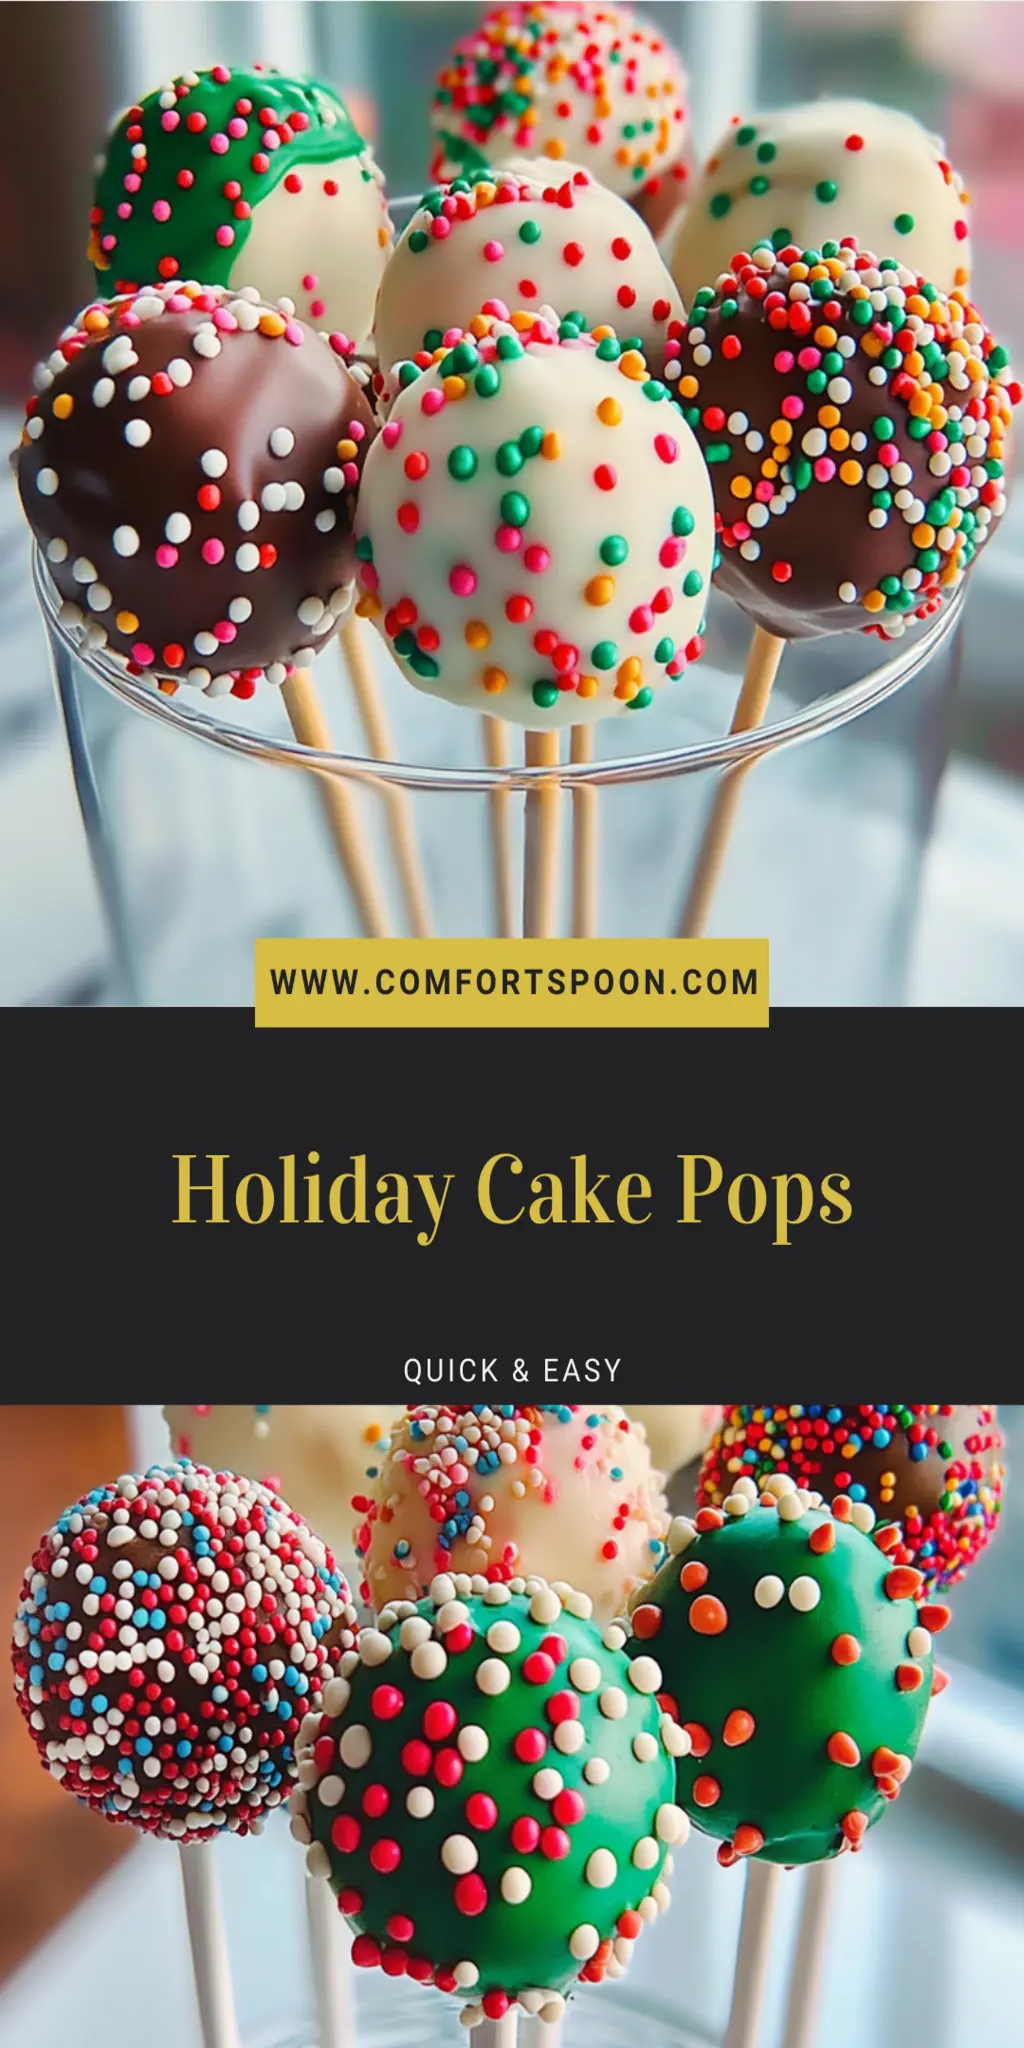
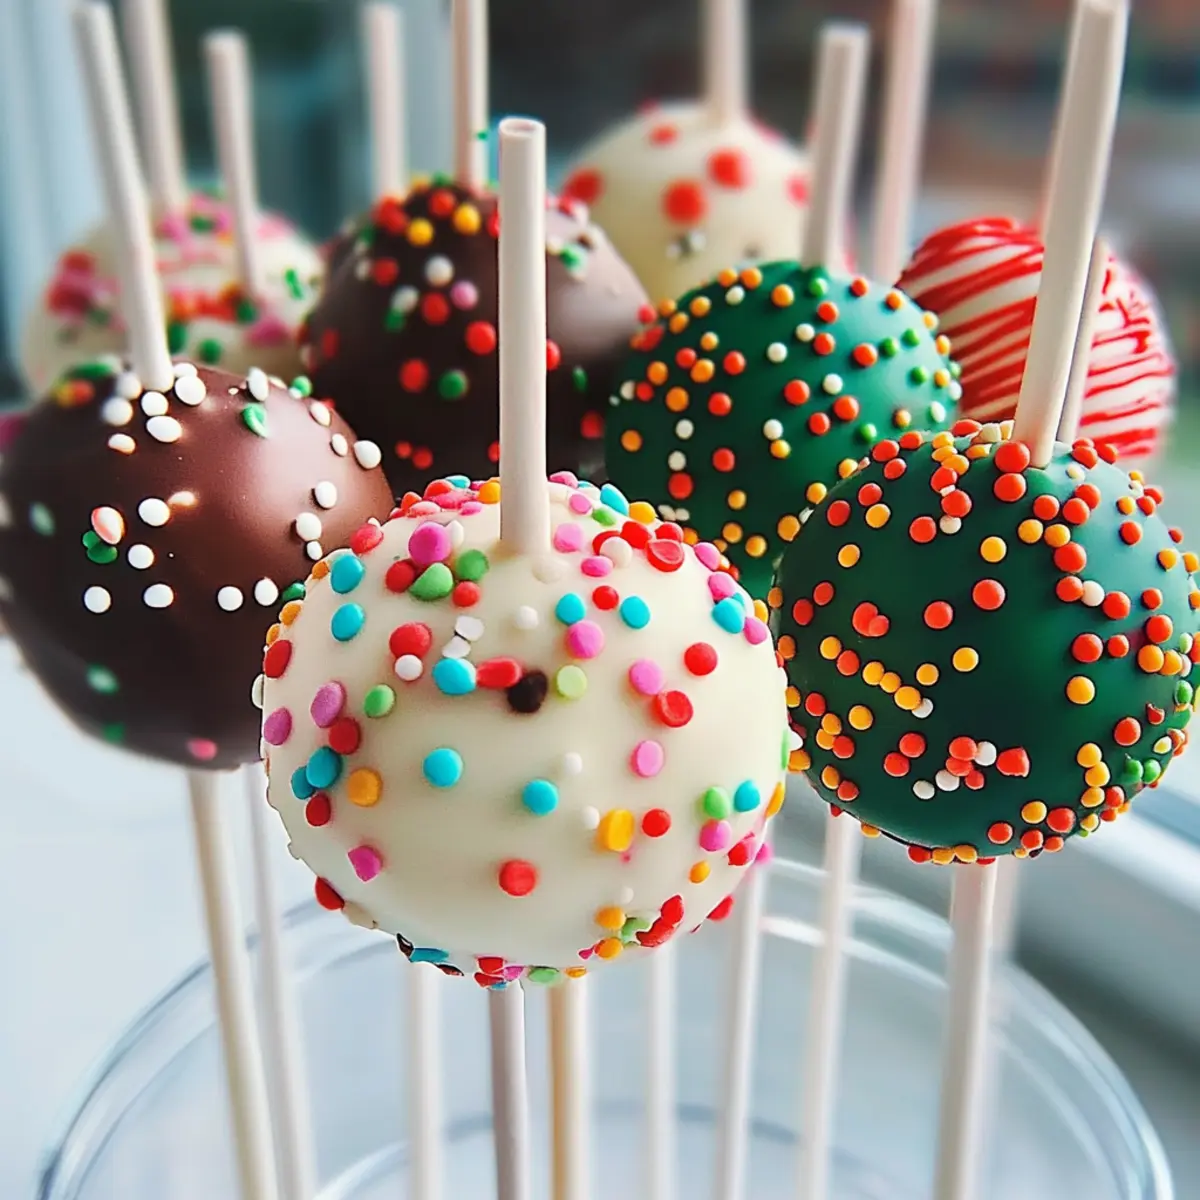
Holiday Cake Pops
Ingredients
Equipment
Method
- Preheat oven to 350°F (175°C). Grease a baking pan and prepare the cake mix as directed, combining with eggs and melted butter until smooth.
- Bake for 25-30 minutes. Allow to cool completely before crumbling into fine pieces in a bowl.
- Gradually mix in frosting until the mixture is dough-like and can be rolled into one-inch balls.
- Chill the formed cake balls on a lined baking sheet for at least one hour.
- Melt chocolate melts until smooth; dip each chilled ball halfway in chocolate and return to the sheet. Add sprinkles while the chocolate is still wet.
- Let set completely before serving or storing.