

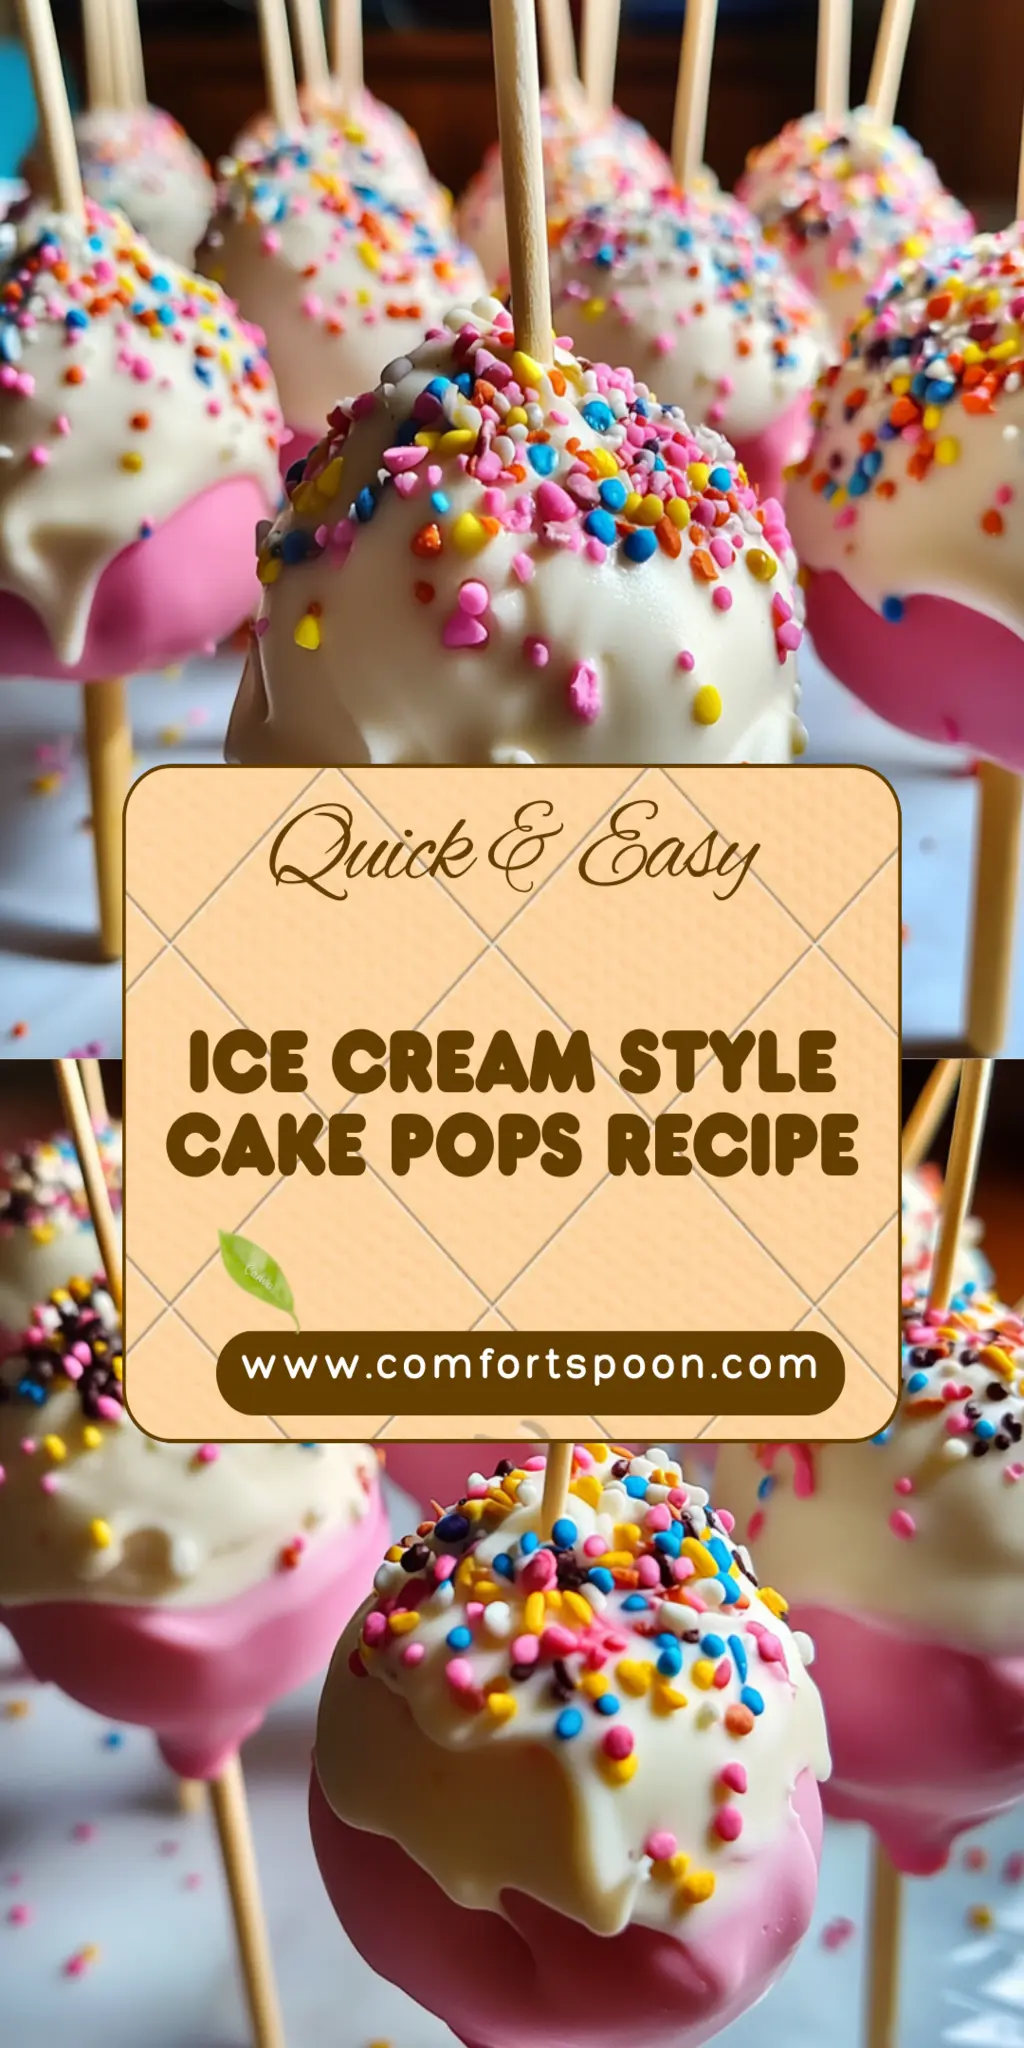
Ice Cream Style Cake Pops are the epitome of fun with a delightful twist. Imagine sinking your teeth into a soft, cake-centered ball blanketed in luscious chocolate, seamlessly merging the nostalgia of cake and the joy of ice cream. These little bundles of happiness are the perfect treat for any celebration or a cozy night in when you want to indulge without getting too complicated in the kitchen.
Now, I remember the first time I made these scrumptious Ice Cream Style Cake Pops. It was during a family gathering, and, of course, I was tasked with bringing the dessert. Let’s just say my dessert game was a bit rusty at the time, but these pops were an absolute hit! The joy on my family’s faces as they savored these treats, combined with the laughter and excitement, made it a moment I cherish. They’re not just cake pops; they’re a gateway to delightful memories, and I guarantee they’ll make your celebrations sweeter, too.
Why You'll Love This Ice Cream Style Cake Pops
- This incredible Ice Cream Style Cake Pops transforms simple everyday ingredients into restaurant-quality flavors that will blow your mind completely.
- Foolproof recipe techniques guarantee perfect results every single time, making even novice cooks feel like professional chefs instantly.
- Stunning visual appeal with gorgeous colors and mouthwatering aromas creates the ultimate Instagram-worthy dish for any special occasion.
- Endlessly adaptable for different dietary needs while working beautifully for meal prep, date nights, or entertaining large groups effortlessly.
Ingredients for Ice Cream Style Cake Pops
Here’s what you’ll need to make this delicious Ice Cream Style Cake Pops:
1 box 15.25 oz vanilla cake mix – Choose your favorite brand for a light and fluffy base; you can also experiment with chocolate or red velvet flavors if desired.
2 cups ice cream – Any flavor will do! Vanilla, chocolate, or even mint chocolate chip can add your unique twist to these pops.
1 cup buttercream frosting – You can use store-bought or homemade; this adds moisture and sweetness to the cake mixture.
12 oz chocolate melts – Milk or dark chocolate works beautifully here. Melt these for that delicious outer coating.
1/2 cup colorful sprinkles – These add a fun and festive touch that makes your cake pops visually irresistible.
How to Make Ice Cream Style Cake Pops
Follow these simple steps to prepare this delicious Ice Cream Style Cake Pops:
Step 1: Bake the Cake
Preheat your oven to 350°F (175°C) and prepare a baking dish with nonstick spray. Bake the vanilla cake mix according to package instructions until golden brown, which should take about 25-30 minutes. Once baked, let it cool completely.
Step 2: Crumble the Cake
Once your cake has cooled, grab a large bowl and crumble the cooled cake into fine pieces. This is where the fun begins! Mix in the softened ice cream until fully combined, forming a delightful, dough-like texture.
Step 3: Shape the Cake Balls
Roll the mixture into 1-inch balls and place them on a parchment-lined tray. This is a great time to channel your inner sculptor! Once they are all rolled, pop them in the freezer for at least one hour to firm up a bit.
Step 4: Melt the Chocolate
While the cake balls are freezing, take your chocolate melts and melt them in a microwave-safe bowl according to the package instructions. The creamy aroma will undoubtedly have you drooling in anticipation!
Step 5: Dip the Cake Balls
Once your cake balls are nice and firm, take them out of the freezer. Dip each frozen ball into the melted chocolate, ensuring they are fully coated. Allow the excess chocolate to drip off before proceeding to the next step.
Step 6: Decorate and Set
While the chocolate is still wet, generously sprinkle those colorful sprinkles on top for that extra touch of fun! Let the cake pops set on parchment paper until completely hardened. A little bit of patience goes a long way here!
Once they are set, transfer your pops to a plate and get ready to enjoy a delicious treat that will surely be the star of your next gathering. Whether for a birthday party, holiday celebration, or just a casual movie night, these Ice Cream Style Cake Pops will wow your guests and ignite smiles all around.
So, gather your loved ones, share some laughs, and indulge in the delightful experience of creating and enjoying these yummy treats together. Trust me; the deliciousness is worth every moment spent in the kitchen!
You Must Know About Ice Cream Style Cake Pops
- This showstopping Ice Cream Style Cake Pops delivers restaurant-quality results using simple ingredients you probably already have at home.
- The perfect balance of textures and flavors creates an unforgettable dining experience that will have everyone asking for seconds.
- Picture-perfect presentation with vibrant colors makes this dish absolutely Instagram-worthy and guaranteed to impress any dinner guest.
- Incredibly versatile recipe that works beautifully for weeknight dinners, meal prep, special occasions, or even outdoor entertaining sessions.
Perfecting Ice Cream Style Cake Pops Cooking Process
Start by baking the vanilla cake first. Once cooled and crumbled, mix in softened ice cream until combined. Roll into balls, freeze, then dip in melted chocolate. This sequence ensures your pops are perfectly formed and coated evenly for maximum flavor and texture.
Add Your Touch to Ice Cream Style Cake Pops
Feel free to swap out vanilla cake mix for chocolate or red velvet for a twist. Experiment with different ice cream flavors, from classic chocolate to zesty lemon, and add toppings like crushed nuts or drizzle caramel for a personalized touch.
Storing & Reheating Ice Cream Style Cake Pops
Store your Ice Cream Style Cake Pops in an airtight container in the freezer to maintain their deliciousness. If you want to enjoy them later, simply take them out and let them sit at room temperature for a few minutes before indulging.
Chef's Helpful Tips for Ice Cream Style Cake Pops
- This professional-quality Ice Cream Style Cake Pops relies on precise timing and temperature control to achieve restaurant-standard results consistently.
- Master the art of mise en place by prepping all ingredients beforehand, ensuring smooth execution and preventing any last-minute cooking disasters.
- The secret lies in layering flavors throughout the cooking process rather than seasoning only at the end for maximum depth.
- Pro tip: let the finished dish rest for optimal texture and flavor development before serving to hungry guests waiting eagerly.
Sharing a moment when I first made these cake pops brings a smile to my face. My friends couldn’t believe they were homemade—they thought I’d bought them from a fancy bakery! Their excitement was infectious, and it reminded me why I love cooking.
FAQs About Ice Cream Style Cake Pops
What is Ice Cream Style Cake Pops?
Ice Cream Style Cake Pops are delightful bite-sized treats made from a combination of moist cake and creamy ice cream, which are shaped into balls, coated in chocolate, and decorated with colorful sprinkles. These pops are not only fun to make but also provide a perfect fusion of flavors and textures, making them a hit at any gathering. They’re versatile enough to be customized with different cake flavors and ice creams, ensuring there’s something for everyone to love.
How do you store Ice Cream Style Cake Pops?
To keep your Ice Cream Style Cake Pops fresh and delicious, store them in an airtight container in the freezer. This will prevent freezer burn and extend their shelf life. When you’re ready to indulge, simply remove the pops and let them sit at room temperature for a few minutes. This way, they soften slightly and are easier to enjoy. Just be sure to consume them within a week for the best flavor and texture!
Can I use different flavors for Ice Cream Style Cake Pops?
Absolutely! One of the best aspects of Ice Cream Style Cake Pops is their versatility. You can experiment with various combinations of cake mixes and ice cream flavors. Try chocolate cake with mint chip ice cream for a refreshing twist, or red velvet cake paired with cream cheese ice cream for a decadent treat. You can even mix and match different toppings to create unique flavor profiles. The possibilities are endless!
How long does it take to make Ice Cream Style Cake Pops?
Making Ice Cream Style Cake Pops is a fun project that can take about 45 minutes of active preparation time, plus an additional hour for freezing. The process begins with baking and cooling the cake, followed by mixing with ice cream, rolling into balls, freezing again, and finally coating with chocolate. While they do require some waiting time in the freezer, the steps are simple and straightforward, making it a great activity to do with family or friends.
Conclusion for Ice Cream Style Cake Pops
In conclusion, Ice Cream Style Cake Pops are a delicious and fun dessert option for any occasion. With their easy-to-follow recipe, you can create these delightful treats in just under two hours. The blend of cake and ice cream, along with customizable flavors and toppings, will impress your guests and keep them coming back for more. Whether you’re hosting a party or looking for a sweet snack, Ice Cream Style Cake Pops deliver both on taste and aesthetic appeal, making them a must-try treat!


Ice Cream Style Cake Pops
Ingredients
Equipment
Method
- Preheat the oven to 350°F (175°C). Prepare a baking dish with nonstick spray and bake the vanilla cake mix according to package instructions until golden brown, about 25-30 minutes. Let it cool completely.
- Crumble the cooled cake into fine pieces in a large bowl. Mix in the softened ice cream until fully combined.
- Roll the mixture into 1-inch balls and place them on a parchment-lined tray. Freeze for at least one hour.
- Melt chocolate melts in a microwave-safe bowl according to package instructions. Dip each frozen ball into the melted chocolate and allow excess to drip off.
- While still wet, decorate with colorful sprinkles and let them set on parchment paper until hardened.